The AI Workflow Automation interface consists of several key areas:
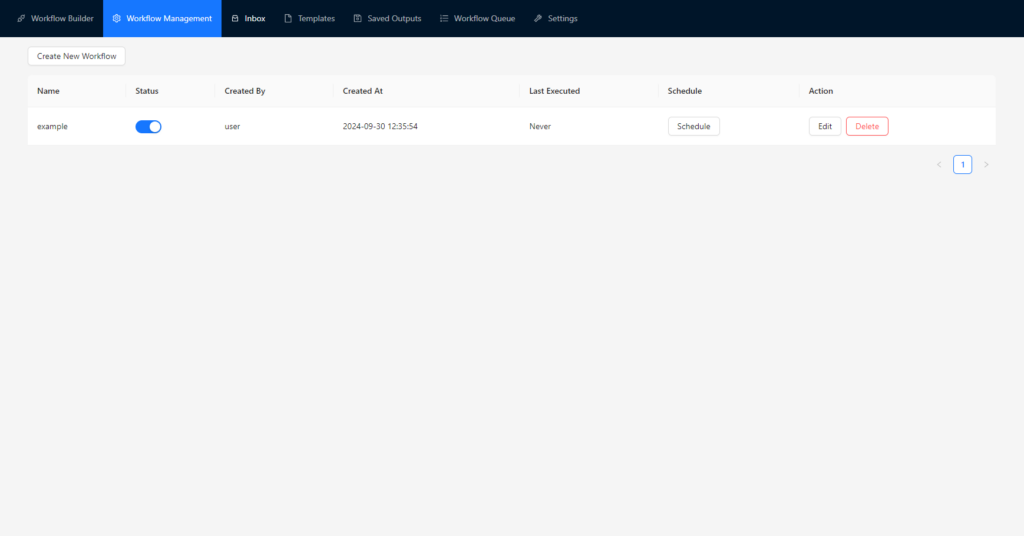
- Workflow Management:
- Access this via AI Workflows > Workflow Management.
- View, edit, delete, schedule, and create new workflows.
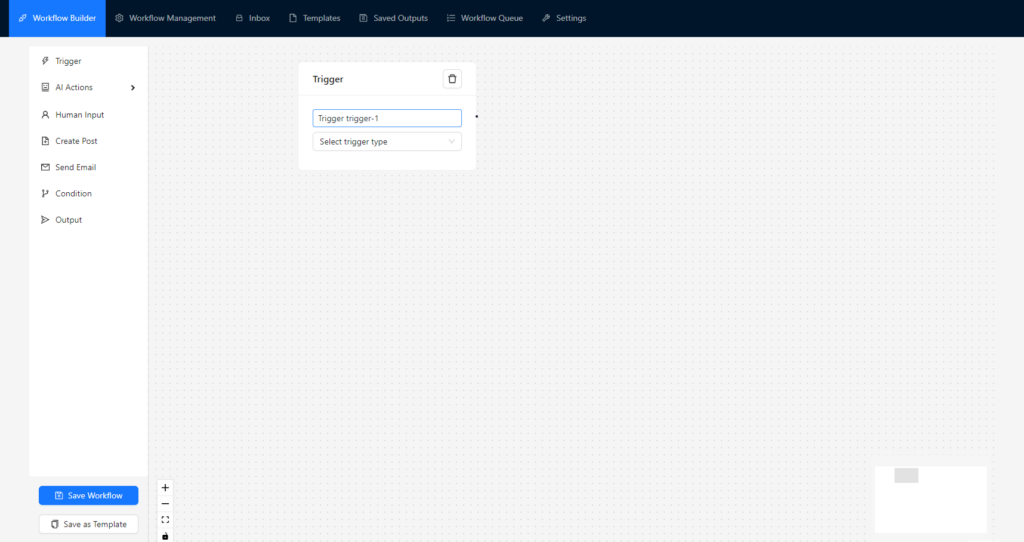
- Workflow Builder:
- The main canvas where you design your workflows.
- Sidebar with available nodes.
- Properties panel for configuring selected nodes.
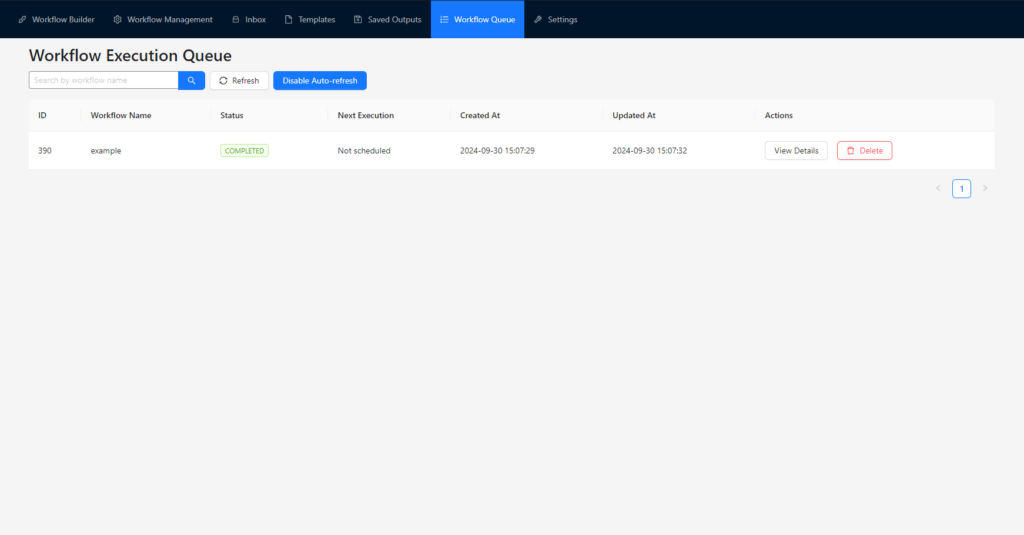
- Workflow Queue:
- Monitor completed, ongoing and scheduled workflow executions.
- See results of each execution per node.
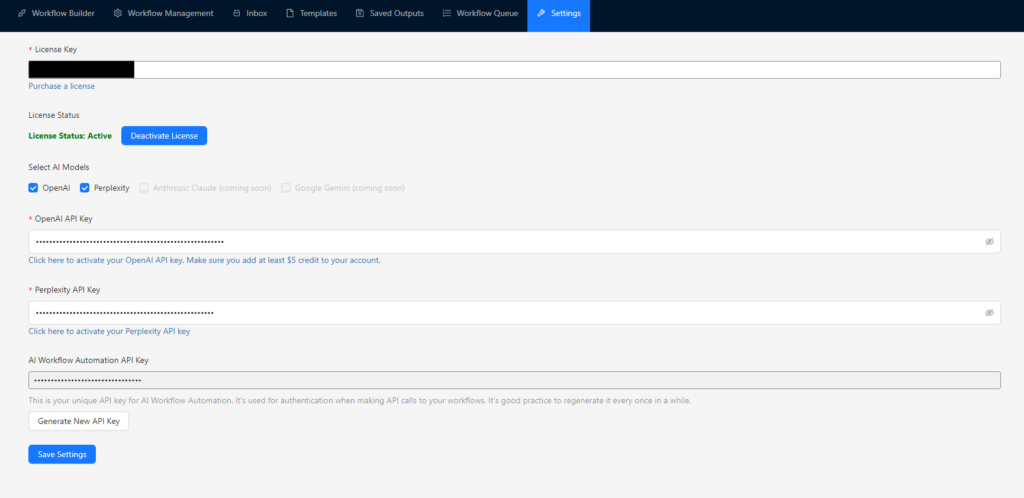
- Settings:
- Configure global settings, API keys, and license information.
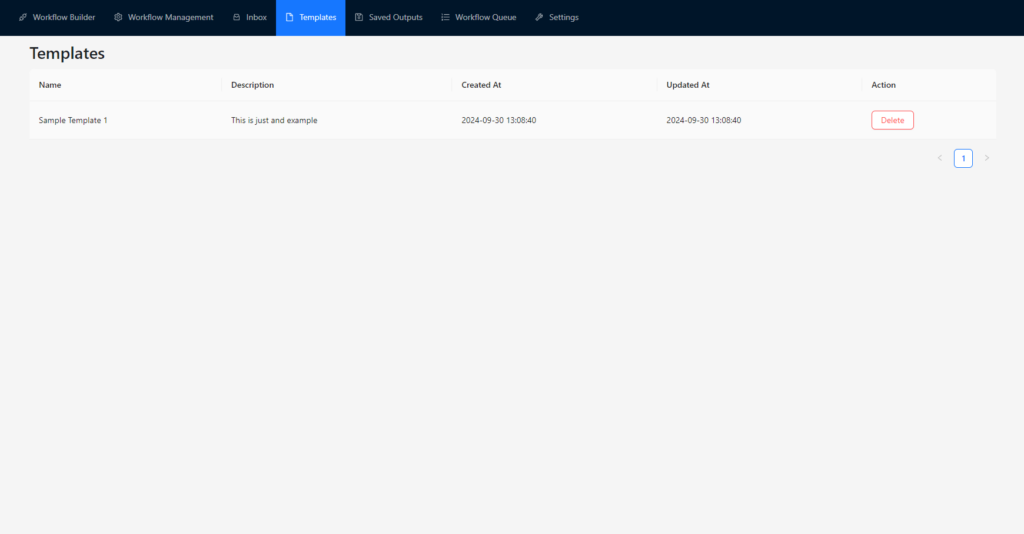
- Templates:
- Access your own saved template workflows and manage them.
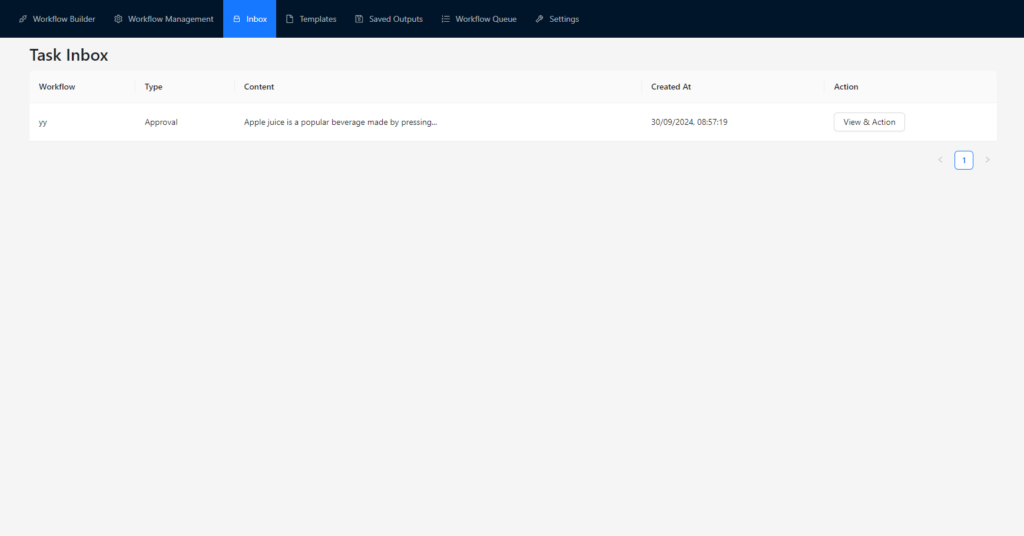
- Inbox
- Manage tasks assigned to you as a user from a workflow.
- View, approve, reject, revert or modify tasks.
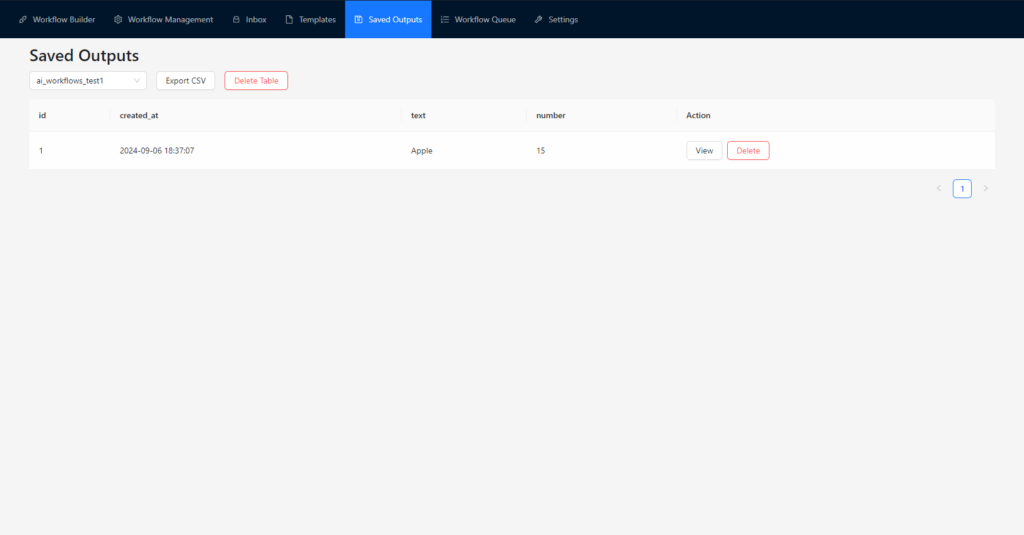
- Saved outputs
- Access all the databases created within the AI Workflow Automation plugin for output data of workflows
- Download .CSV format files of each table.
- Manage entries, delete rows or delete tables
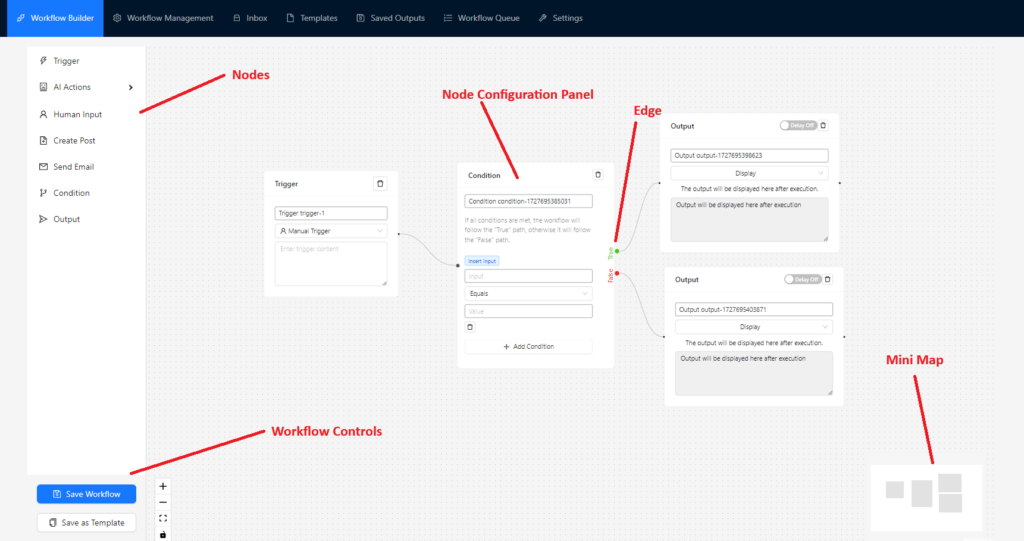
Key UI Elements in the Workflow Builder: #
- Nodes: Represent actions or decision points in your workflow.
- Edges: Connect nodes to define the flow of data and logic.
- Node Configuration Panel: Appears when you select a node, allowing you to set its properties.
- Minimap: Helps navigate complex workflows (located in the bottom-right corner).
- Workflow Controls: Save, execute, or create a template from your current workflow.
With this understanding of the basics, you’re ready to start exploring the full potential of AI Workflow Automation. In the next sections, we’ll dive deeper into each component and advanced features of the plugin.
