Deploy the chat widget
Once you have configured a Chatbot node and saved the workflow, you deploy the widget anywhere on your site with a shortcode.
The shortcode
After you save the workflow, the node shows a shortcode you can copy:
Error: Failed to load chat configurationPaste it into any post or page (or a shortcode block) where you want the widget to appear.
Shortcode attributes
You can override a few settings per placement:
id(required): the chatbot workflow id shown on the node.theme:light,dark, orcustom.position: where the widget sits (see below).show_citations:trueorfalse.show_powered_by:trueorfalse.include_page_context:trueorfalse.
For example:
Error: Failed to load chat configurationThe WordPress widget
You can also add the chatbot through Appearance, Widgets. Add the chat widget to a widget area and select the workflow you want to show.
It matches any theme
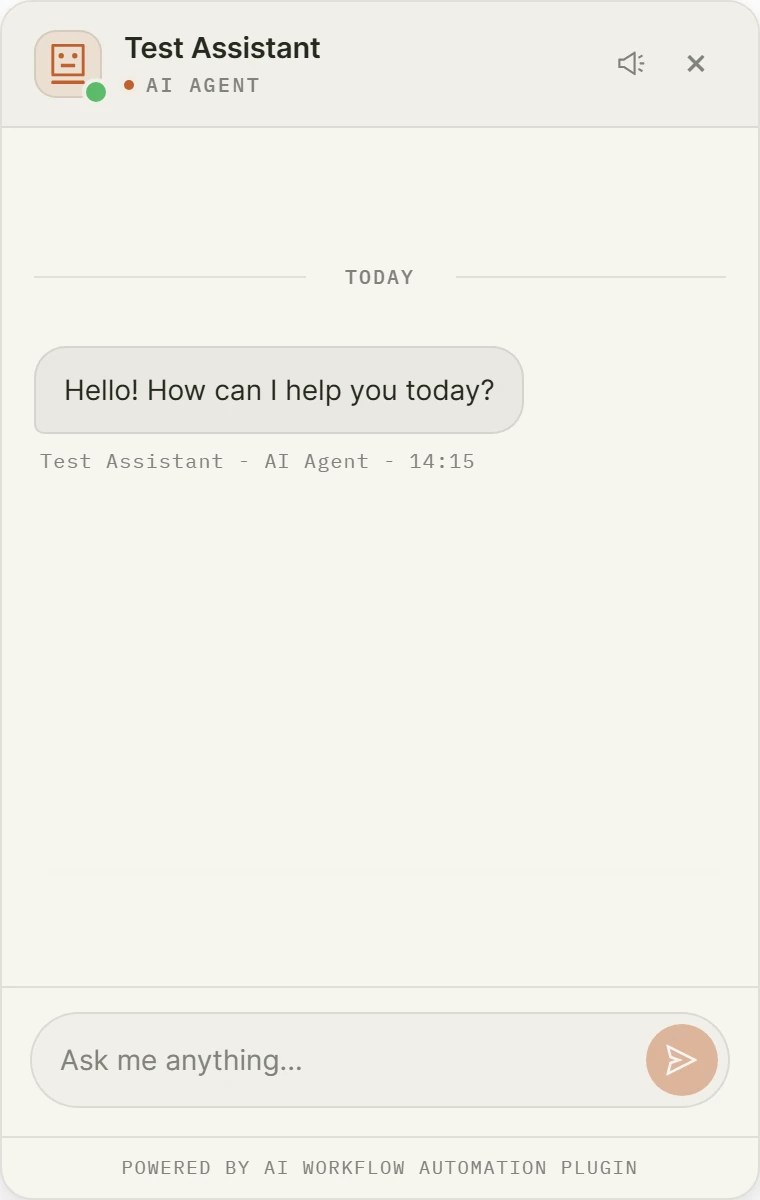
The widget renders inside an isolated container (an open Shadow DOM), so your theme’s CSS cannot leak in and the widget’s styles cannot leak out. The chatbot looks the same and behaves consistently no matter which theme your site runs.
Position and layout
Choose the position on the Design tab of the node, or override it with the position attribute:
- Bottom right, Bottom left, Top right, Top left: a floating launcher button that opens the chat.
- Centered pill: a modern centered launcher.
- Inline: the chat is embedded directly in the page flow, useful for a dedicated support or assistant page.
Set the widget dimensions under Design, Dimensions. The widget is responsive and adapts to mobile screens.
Design options
On the Design tab you can set:
- Theme: light, dark, or custom (with your own colors).
- Bot identity: bot name, icon, or a custom logo.
- Typography: font family and sizes.
- Quick response buttons: tappable chips that send preset messages. See Interactive messages.
- Send button text and footer, including whether to show the “Powered by” line.
Page awareness
Turn on page context (Behavior tab, or the include_page_context attribute) to let the chatbot see the page it is embedded on: the page title, URL, and a content summary. On a WooCommerce product page it also receives the product’s price, SKU, stock status, and categories, so it can answer questions about what the visitor is viewing.
Preview before you deploy
Use the preview on the node to test your model, instructions, actions, and design without leaving the builder. When it behaves the way you want, copy the shortcode and place it on your site.