How to Install AI Workflow Automation #
Installing AI Workflow Automation is a straightforward process:
- Log in to your WordPress admin panel.
- Navigate to Plugins > Add New.
- Click the “Upload Plugin” button at the top of the page.
- Click “Choose File” and select the AI Workflow Automation zip file you downloaded.
- Click “Install Now” and wait for the installation to complete.
- Once installed, click “Activate Plugin” to enable AI Workflow Automation.
Activating Your License #
To unlock all features of AI Workflow Automation, you need to activate your license:
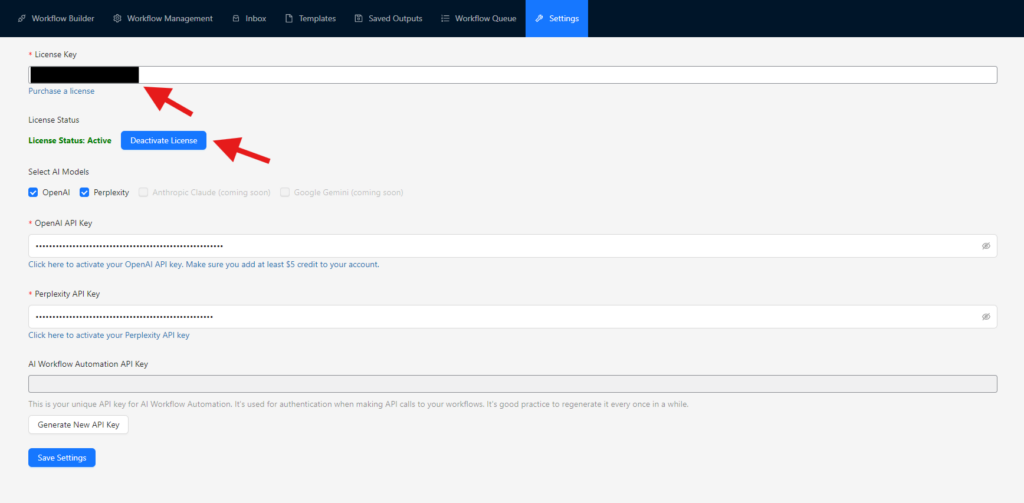
- After activation, go to AI Workflows > Settings in your WordPress admin menu.
- Locate the “License Key” field in the settings page.
- Enter the license key you received when you purchased AI Workflow Automation.
- Click the “Activate License” button.
- If successful, you’ll see a confirmation message and your license status will change to “Active.”

Note: If you encounter any issues during activation, ensure your license key is entered correctly and that your site can communicate with our license verification server.
Important note: Users who have purchased Professional license MUST activate their license on the exact same address that they entered during the purchase process. This means that the license will not be activated on subdomains, subcategories of a domain, or other staging environments for the first time.
After the first activation, you can deactivate on your main website, and reactivate it on your desired address.


